This post may contain affiliate links. If you purchase through one of my links, I may earn a small commission at no extra cost to you. As an Amazon Associate I earn from qualifying purchases.
At some point I realized I didn’t necessarily miss commercial soda.
I missed the fizz.
And I mean FIZZ. 😂 The kind of carbonation you get from a McDonald’s Sprite where it feels like the bubbles are scrubbing your soul on the way down.
Once I learned I could make naturally fermented probiotic soda at home with something called a ginger bug, you already know what happened. I had to try it.
My ginger bug probiotic soda phase turned into strawberry soda, strawberry-pineapple soda, homemade ginger ale, and whatever other fruit combination sounded good at the time. And when that fermentation really gets going, the carbonation can be ridiculous.
The crazy part is that the starter begins with just three things: ginger, sugar, and water.
Watch Me Make It
What Is a Ginger Bug?
A ginger bug is a fermented starter made from fresh ginger, sugar, and water. I think of it almost like a sourdough starter for drinks.
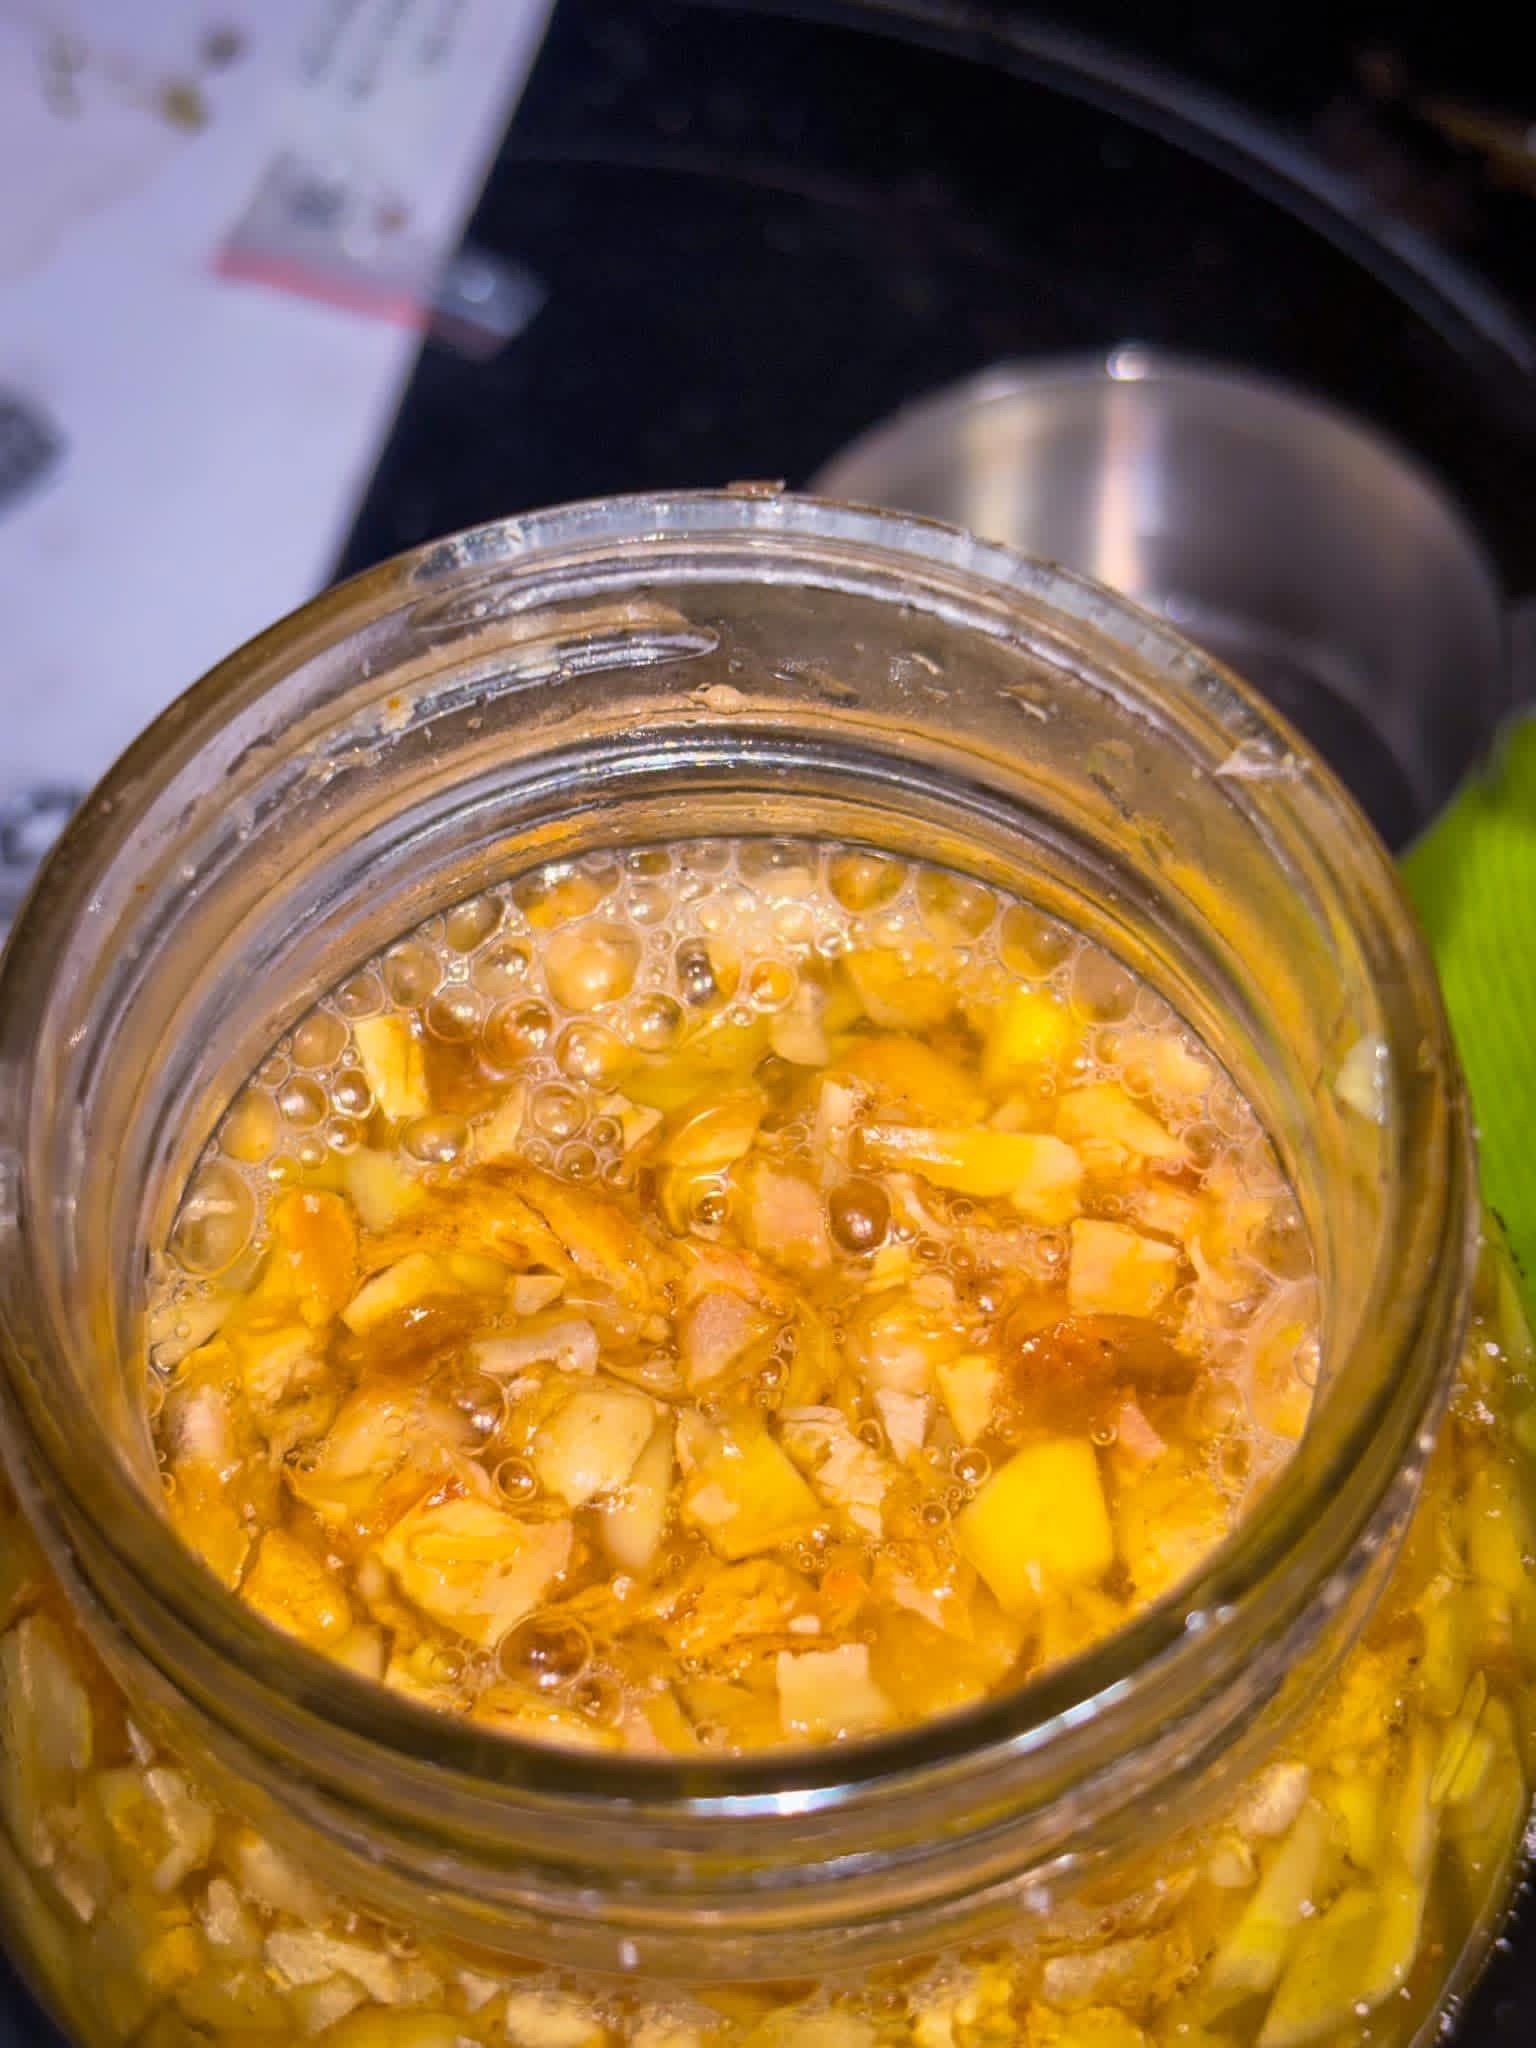
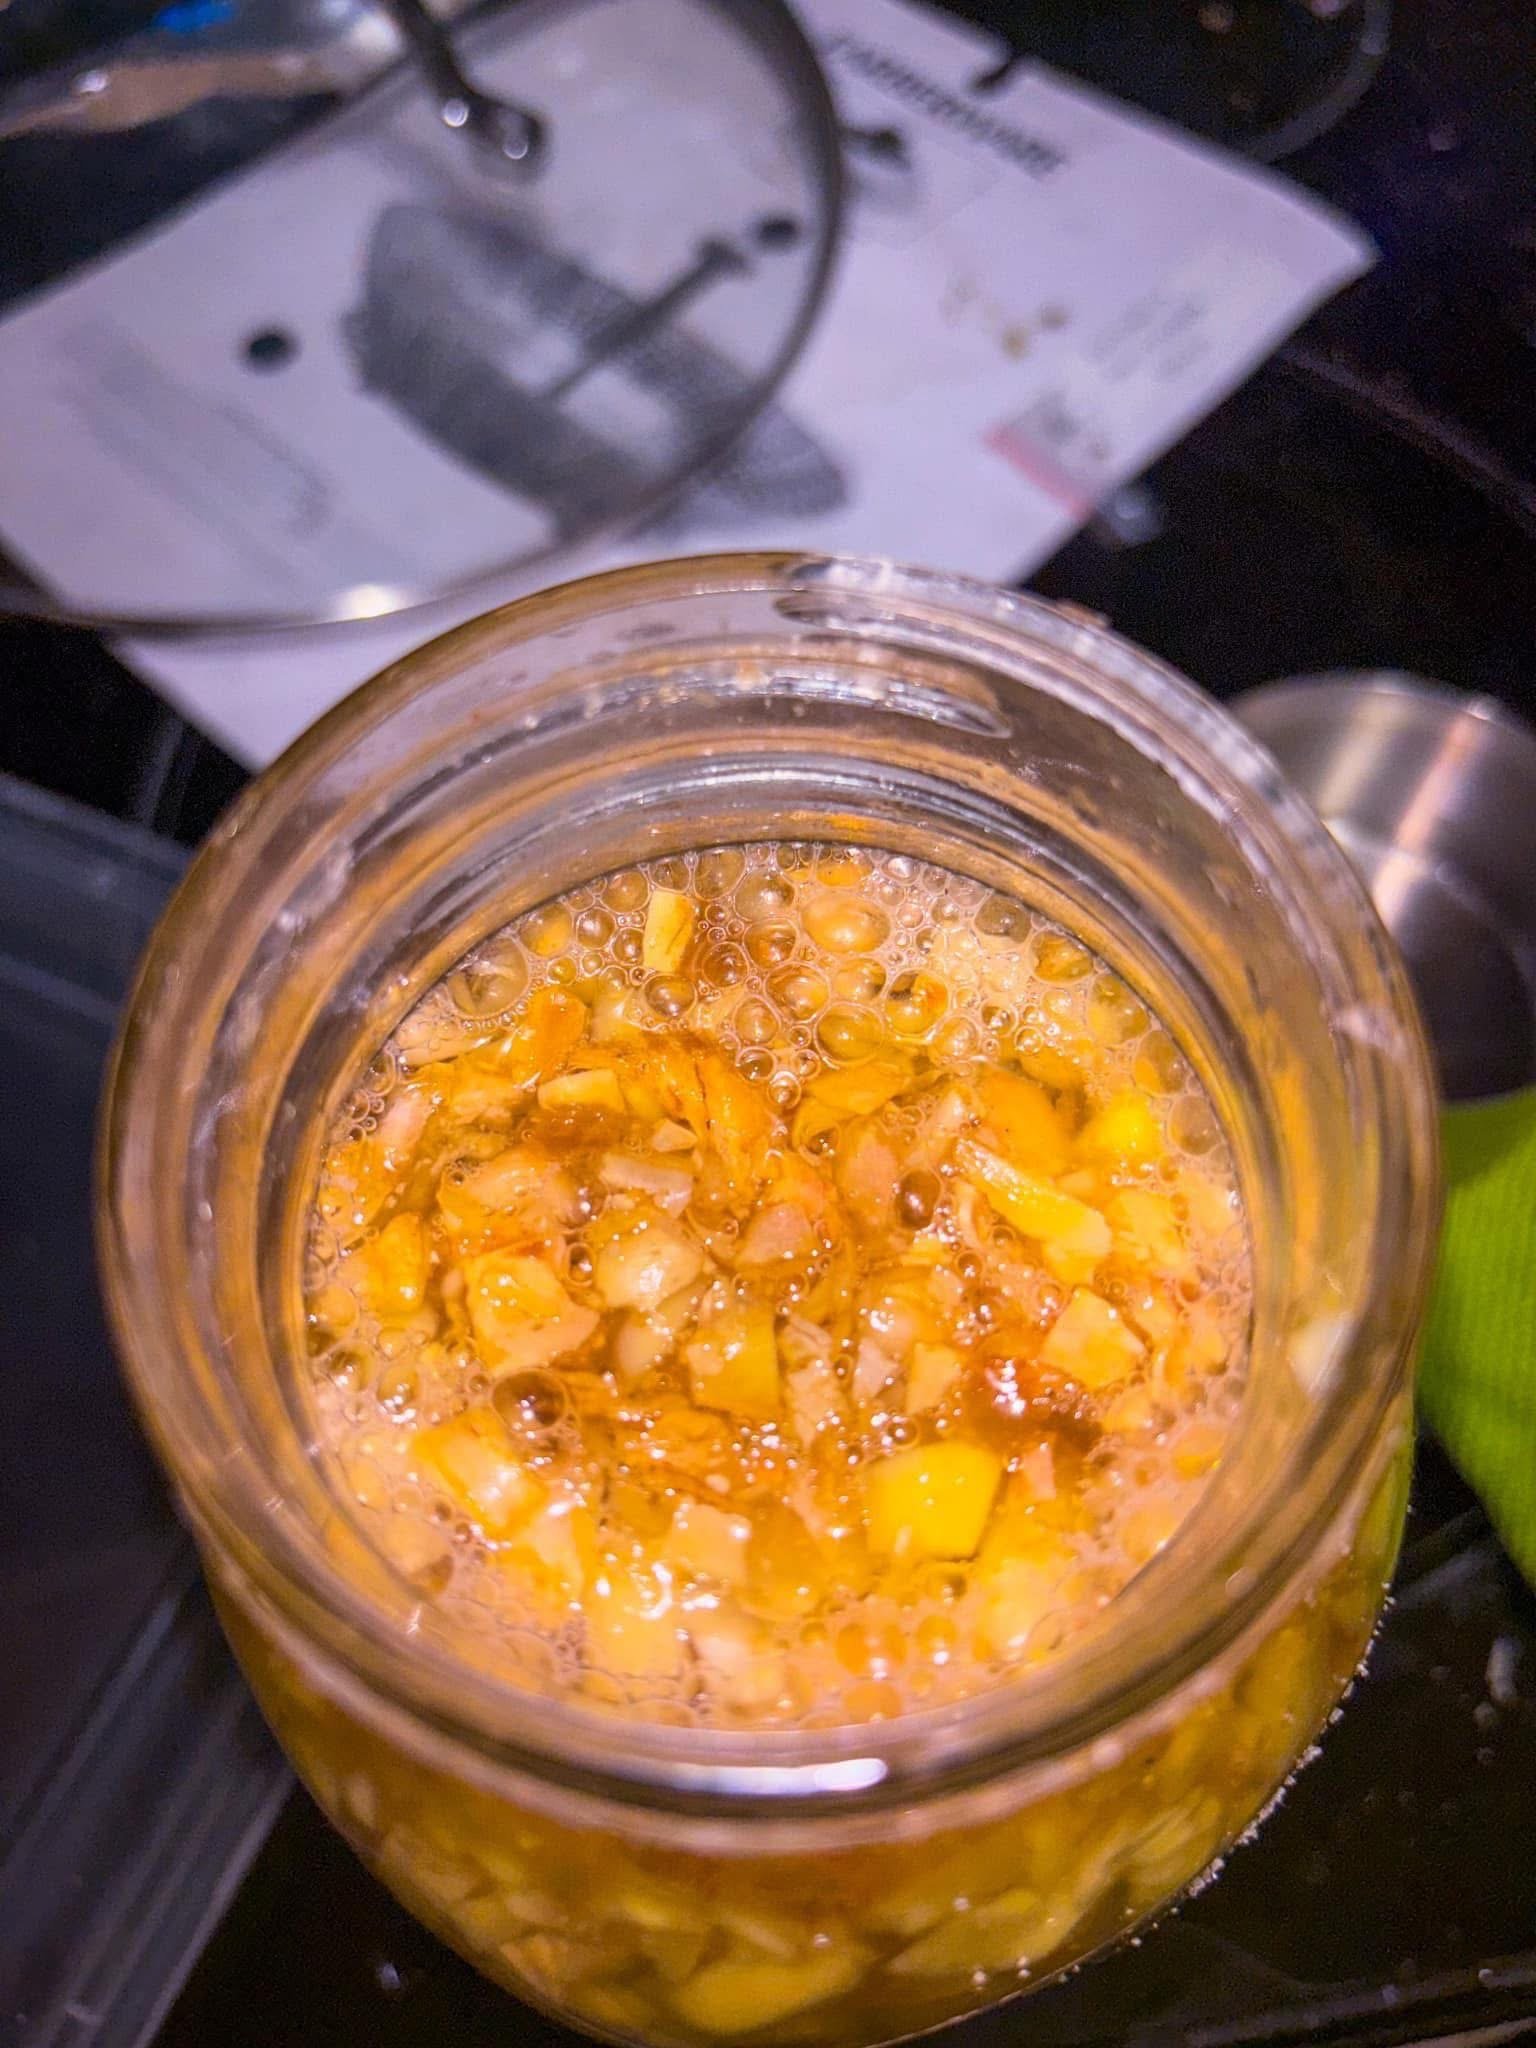
Instead of using it to make bread rise, I use the active liquid to start fermentation in sweet fruit drinks and ginger ale. As the ginger bug wakes up, the wild yeasts and bacteria in the culture start feeding on the sugar. You’ll see bubbles forming in the jar, and that active starter can then be used to naturally carbonate a drink.
My Ginger Bug Recipe
This is the basic ginger bug recipe I’ve used for my homemade sodas.
- 2 cups filtered or dechlorinated water
- About 2 tablespoons fresh ginger, finely chopped or grated
- 2 tablespoons sugar
- A clean glass jar
- A breathable cover such as a coffee filter or clean cloth
- A rubber band
I leave the peel on my ginger as long as it has been cleaned well. Regular white or cane sugar works just fine. The sugar isn’t there just to make the finished drink sweet. It feeds the fermentation.
How I Start and Feed My Ginger Bug
Add the water, ginger, and sugar to a clean jar and stir everything together well. Cover the opening with a breathable cover, secure it with a rubber band, and keep the jar at room temperature away from direct sunlight.
Then every day I feed it:
- 1 tablespoon fresh ginger
- 1 tablespoon sugar
Give it a good stir after every feeding. I usually start seeing obvious activity within a few days, although fermentation does not care about my schedule. 😂 A warmer kitchen can move faster than a cooler one.
How I Know My Ginger Bug Is Ready
For me, the big thing is bubbles.
I want to stir the jar and see obvious activity instead of looking at a completely flat jar of ginger water. Mine is generally ready to use after about 5 to 7 days of feeding. It should smell pleasantly gingery and fermented, and the starter should look alive.
My Ginger Bug Probiotic Soda Method
The ginger bug itself isn’t the finished soda. It’s the starter.
I make whatever sweet fruit or ginger base I want to turn into soda, let it cool completely if I heated anything, and then add some of my active ginger bug liquid. I strain the portion I’m using so I’m adding the active liquid instead of a bunch of ginger pieces.
Then everything goes into bottles that are made to handle carbonation.
For one of my favorite batches, I made classic strawberry and strawberry-pineapple soda. I’ve also made homemade ginger ale with the same starter. Once you understand the basic method, this is where you can start playing with whatever flavors sound good.
How I Get All That Natural Carbonation
After I bottle the soda, I usually leave it at room temperature for about 1 to 2 days to build carbonation.
During that second fermentation, the culture keeps consuming sugars in the drink and produces carbon dioxide. Because the bottle is sealed, that gas stays in the bottle and dissolves into the liquid.
That’s how you go from a sweet fruit drink to actual fizzy soda.
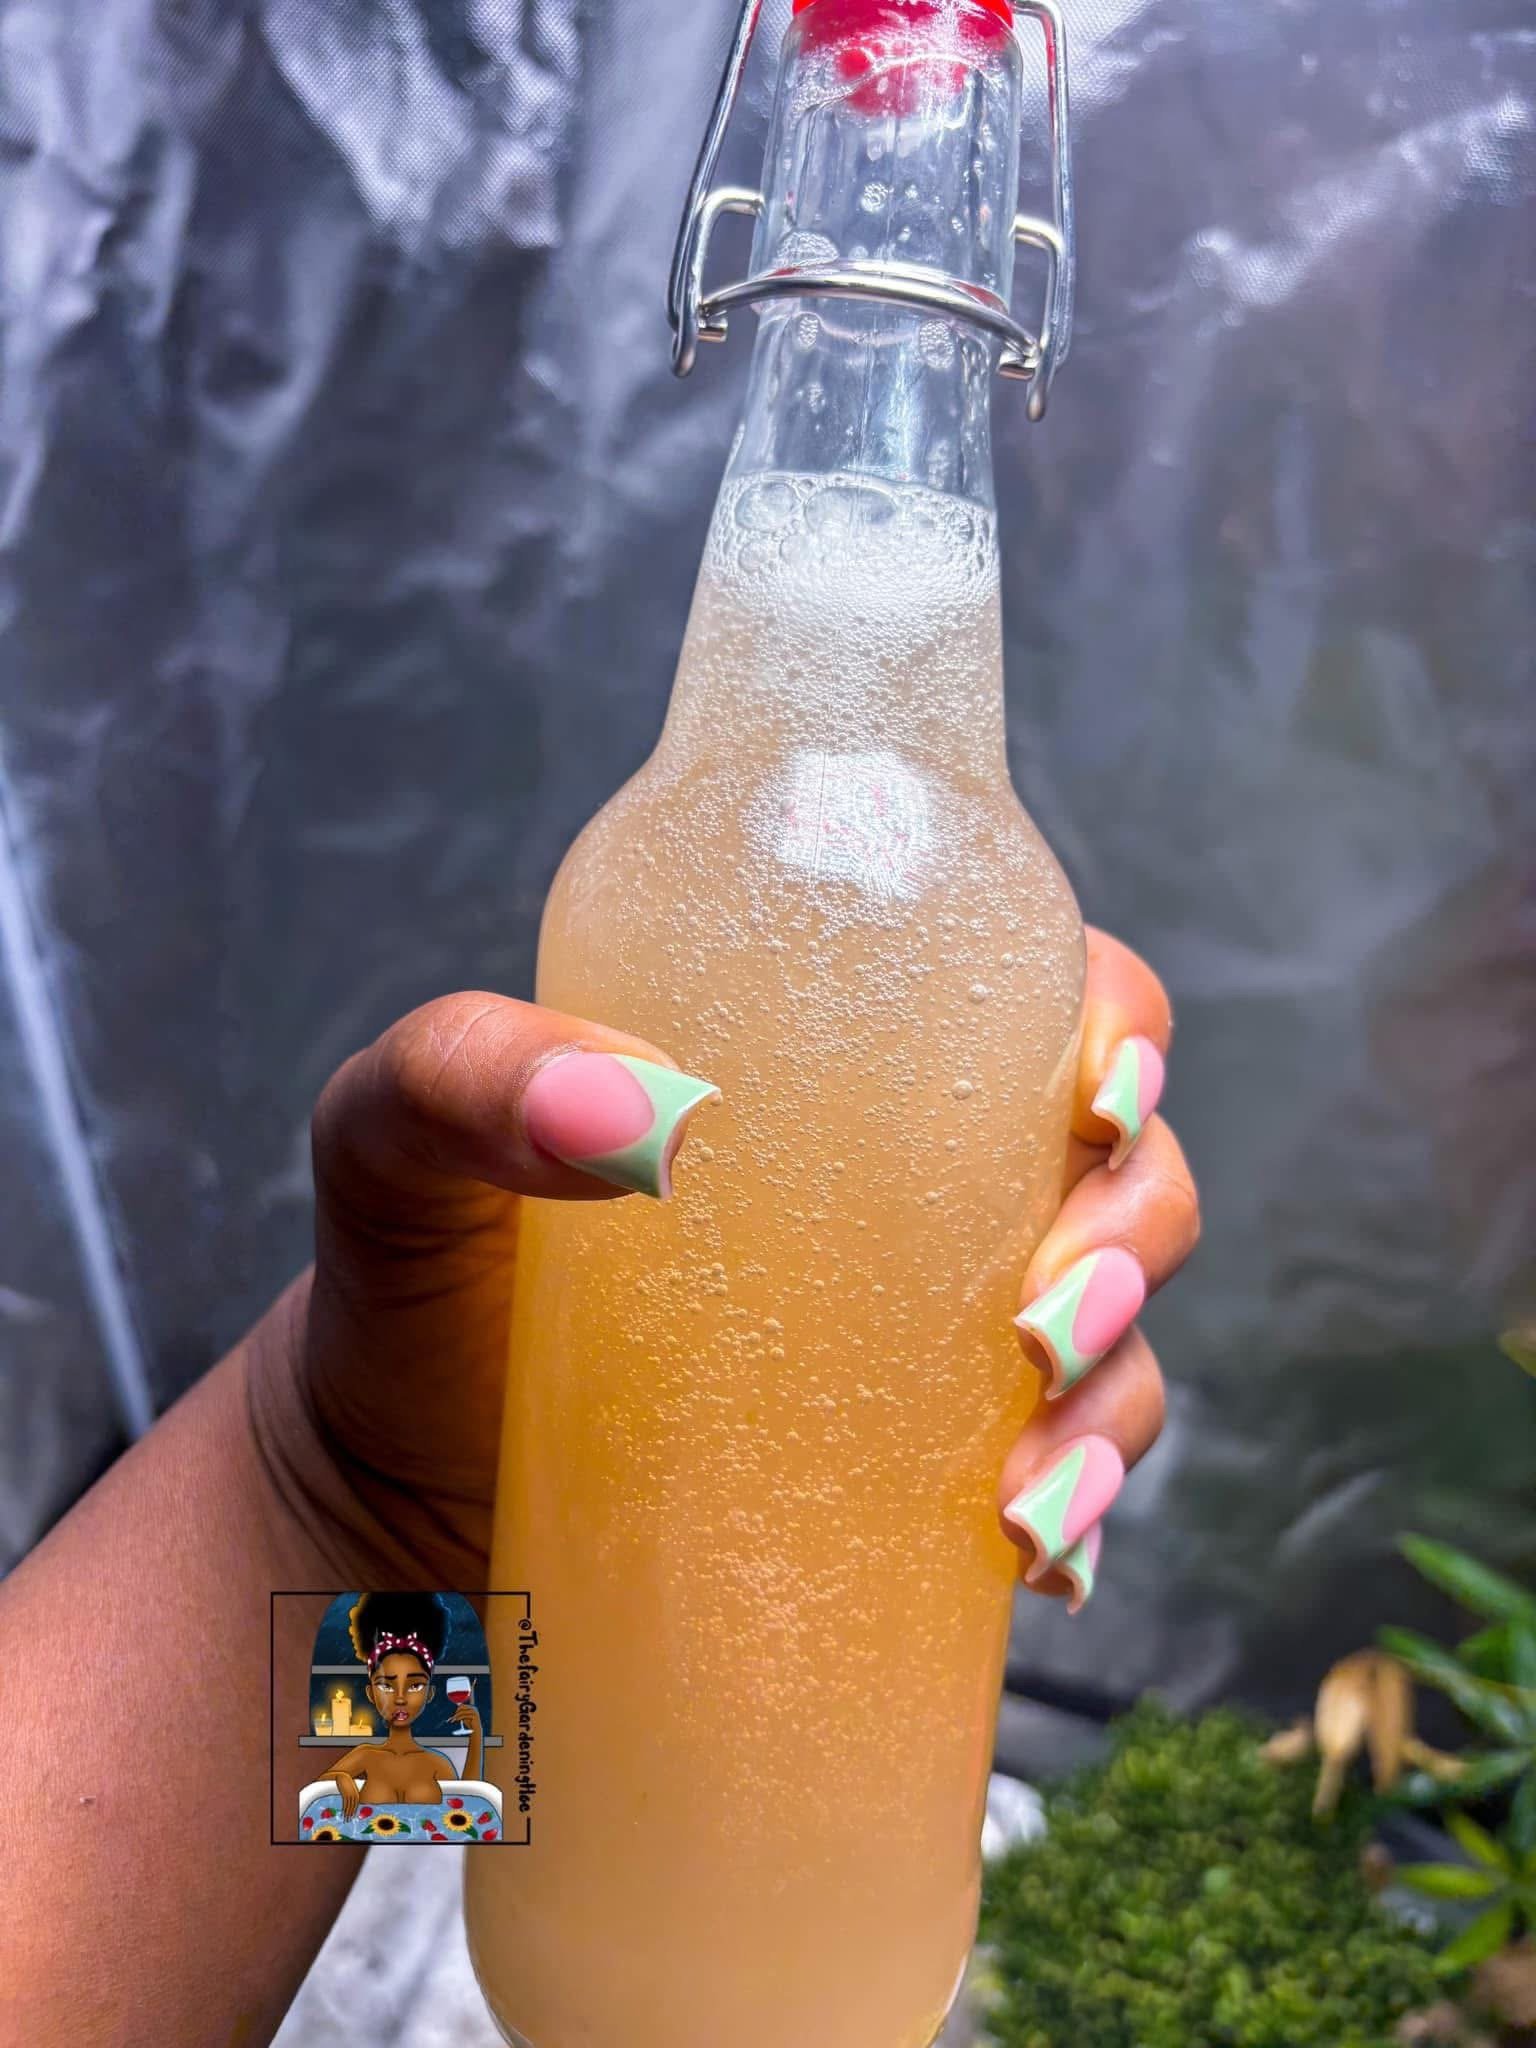
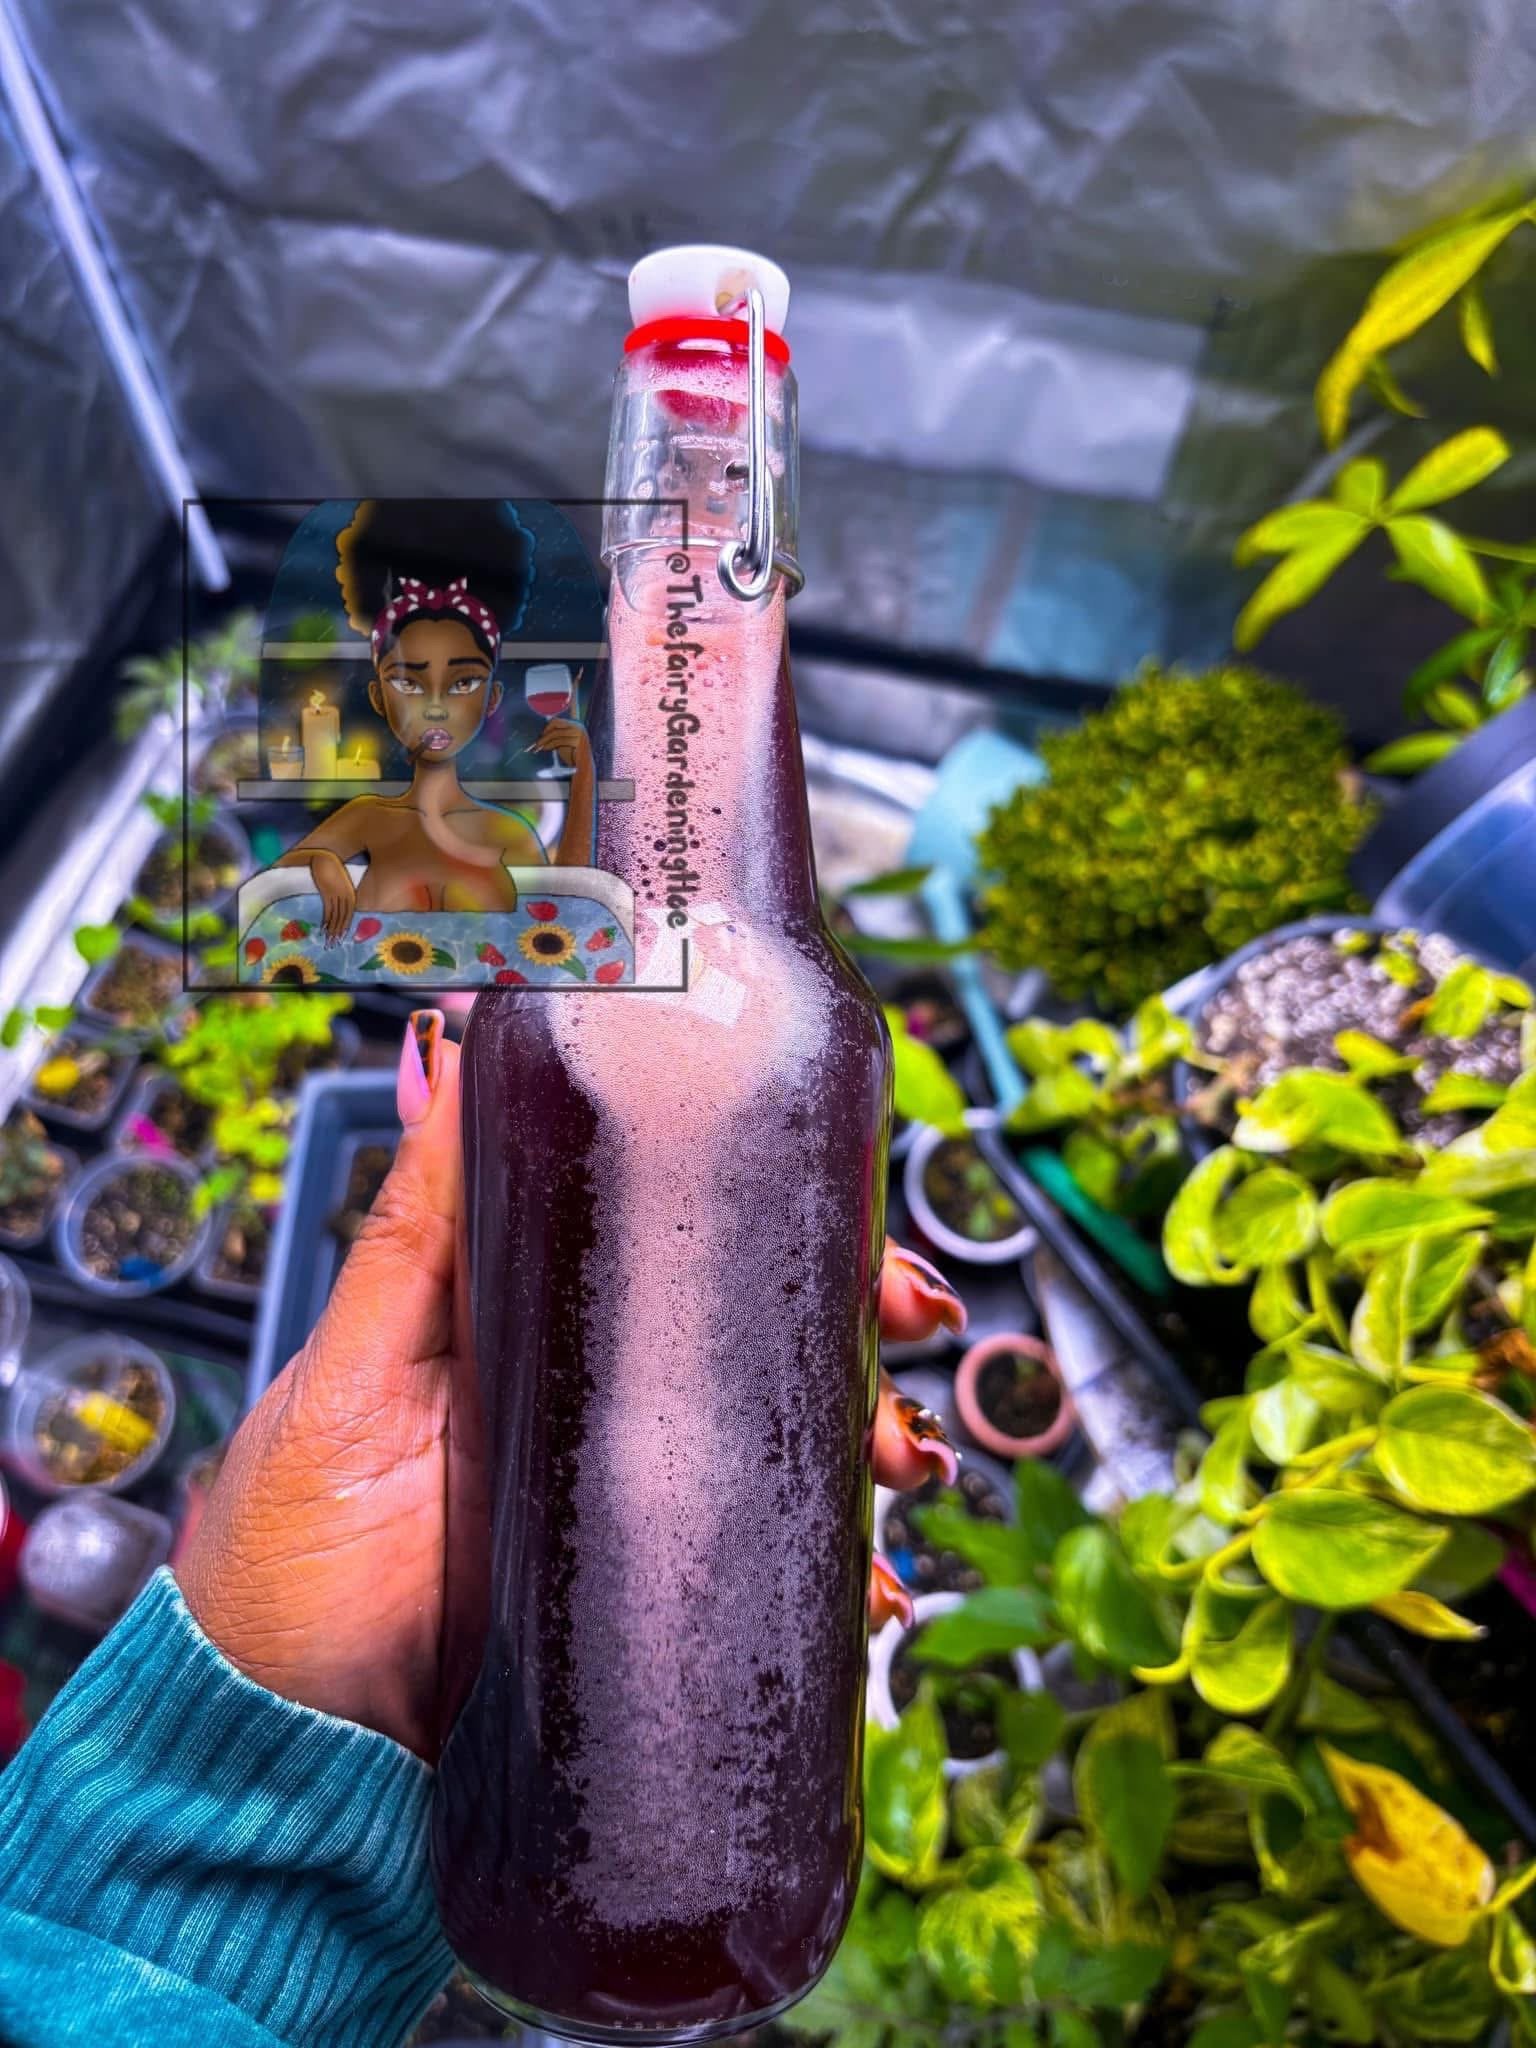
When one of my batches gets really active, you can see tiny bubbles clinging all over the inside of the bottle. That might be one of my favorite parts of the whole process because you can literally see the fermentation doing its thing.
Use Bottles Made for Carbonation
This is one place where I don’t just grab any cute glass bottle. Fermentation creates pressure, so I use sturdy swing-top bottles made for carbonated drinks.
Once the soda reaches the carbonation I want, I move it into the refrigerator. Cold temperatures slow the fermentation down considerably. I also open highly carbonated bottles cold and slowly because some batches can get VERY enthusiastic. 😂
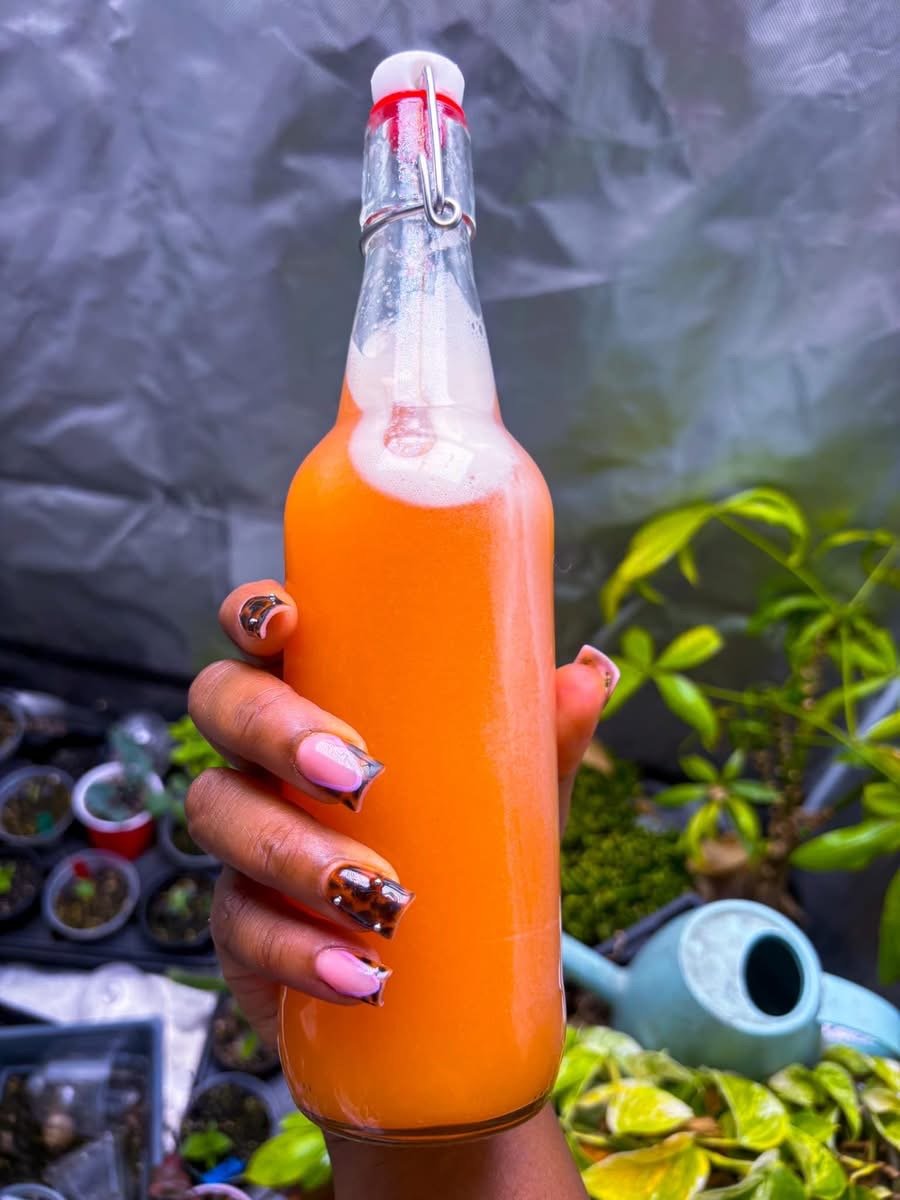
The Strawberry and Strawberry-Pineapple Sodas
The strawberry and strawberry-pineapple sodas were some of the batches that really sold me on making my own.
They fermented for around a day or two before going into the refrigerator, and they were not giving “cute homemade drink with three little bubbles.” They were giving actual soda. 😂
That was the point when I realized I wasn’t only making something interesting because I love fermentation. I was making something I genuinely wanted to drink.
Then I Had to Make Ginger Ale
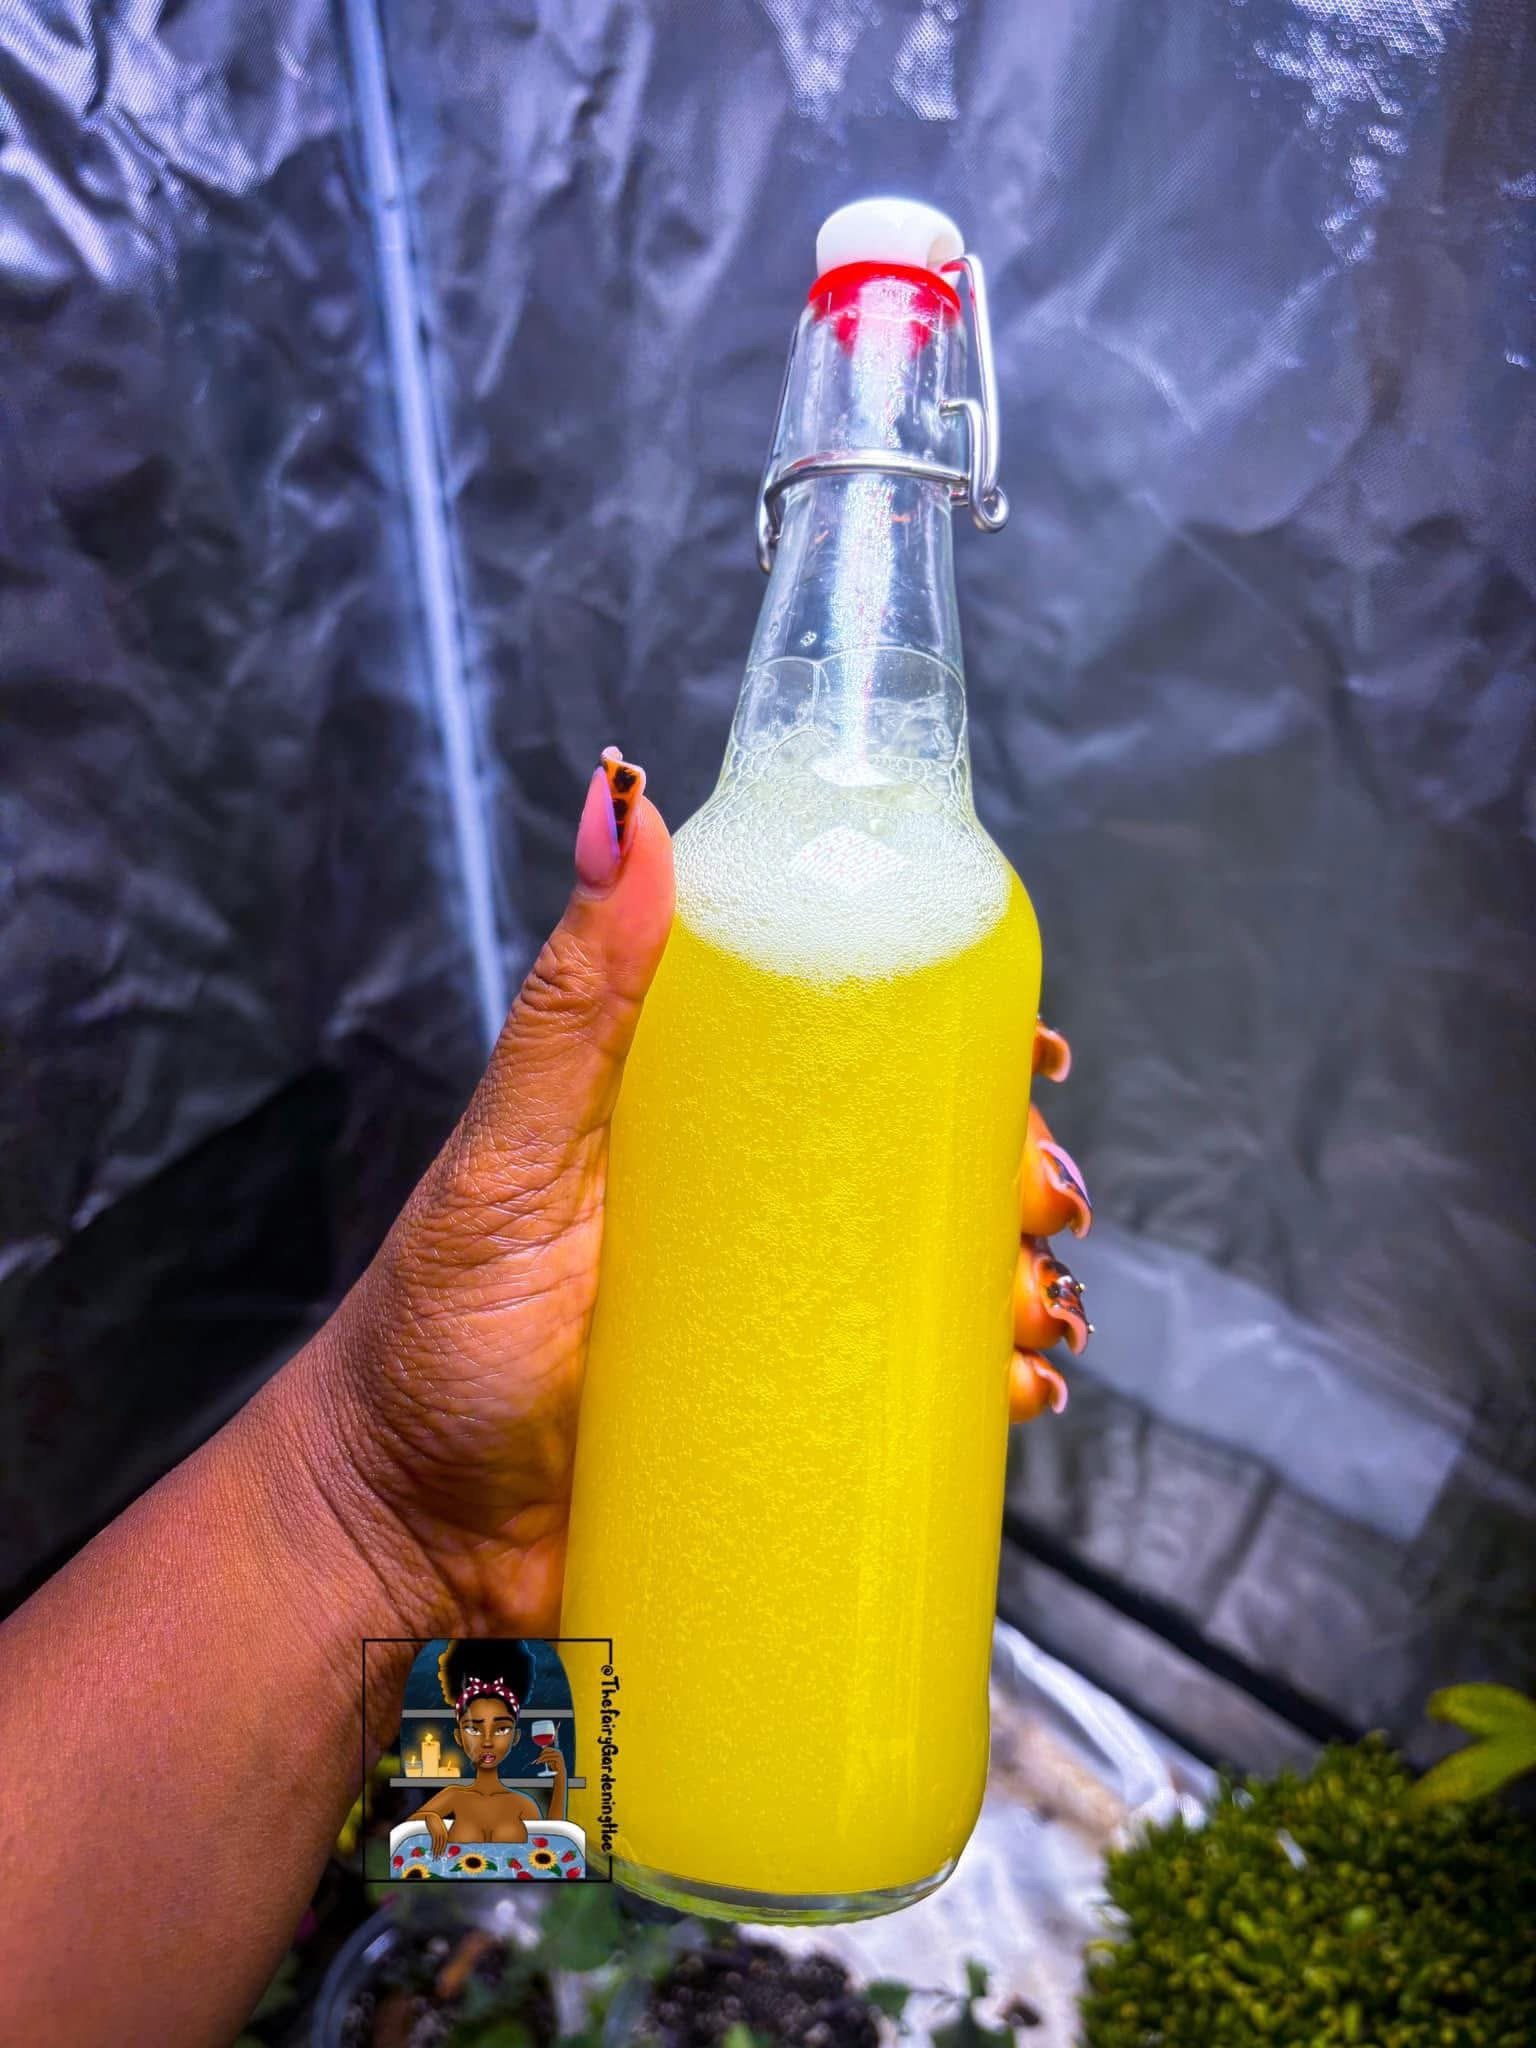
Of course I eventually had to make ginger ale.
Black people have been using ginger ale as the answer to everything forever. Stomach hurt? Ginger ale. Feeling sick? Ginger ale. Bad day? Apparently also ginger ale. 😂 So naturally I needed to know how to make my own.
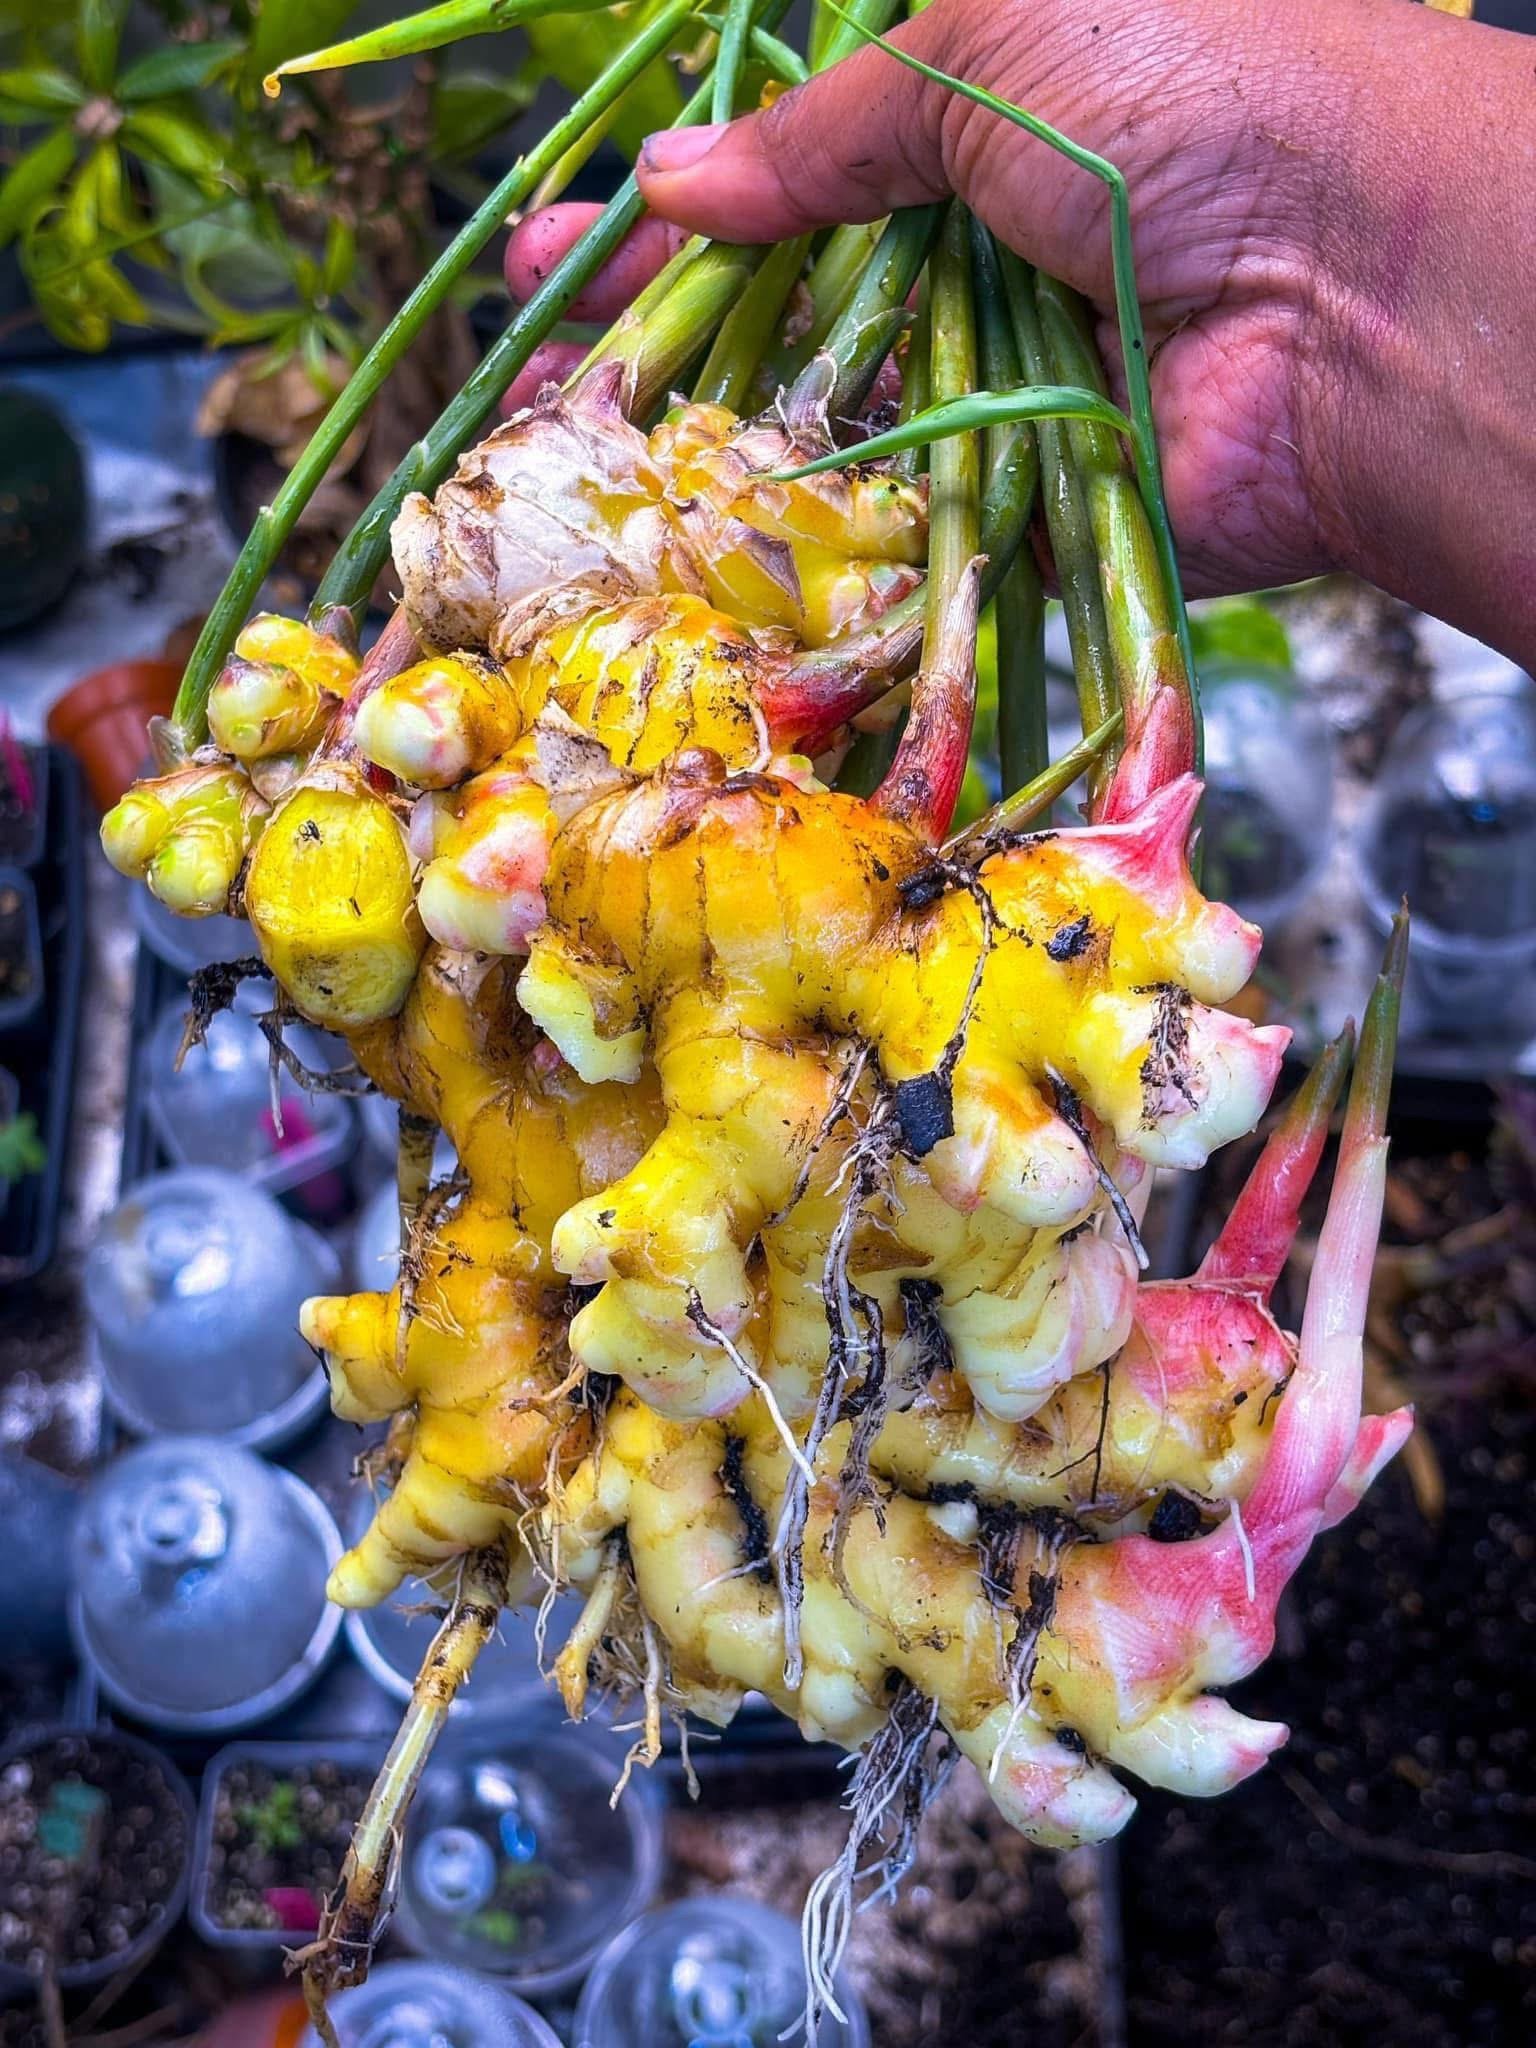
A ginger bug makes perfect sense for it because ginger is already the foundation of the starter. And when I can use ginger I grew myself, that makes it even better.
Keeping a Ginger Bug Going
One of my favorite things about a ginger bug is that I don’t have to start over every time I want to make soda.
When I remove some starter liquid, I can replenish the jar with fresh water and continue feeding it with ginger and sugar. If the jar gets too full, I pour some out.
When I’m using it regularly, I keep feeding it. If I want to take a break, I can refrigerate it and feed it less often, then bring it back out and get it active again before the next batch.
Eventually it just becomes another little living thing in the kitchen that you find yourself checking on. 😂
What I Use to Make Ginger Bug Probiotic Soda
The product links below are affiliate links.
- YEBODA 16 oz Swing-Top Glass Bottles — for the bottled soda and carbonation stage.
- Ball Wide Mouth Glass Mason Jars — for keeping the ginger bug itself.
- Fine Mesh Strainers — for straining the active starter liquid away from the ginger pieces.
- Zulay Kitchen 3-Piece Set — one of the handy little tool sets for the bottling side of the process.
I don’t think every spoon and rubber band in the kitchen needs an affiliate link. 😂 These are the kinds of supplies that are actually useful if you want to make a ginger bug probiotic soda at home.
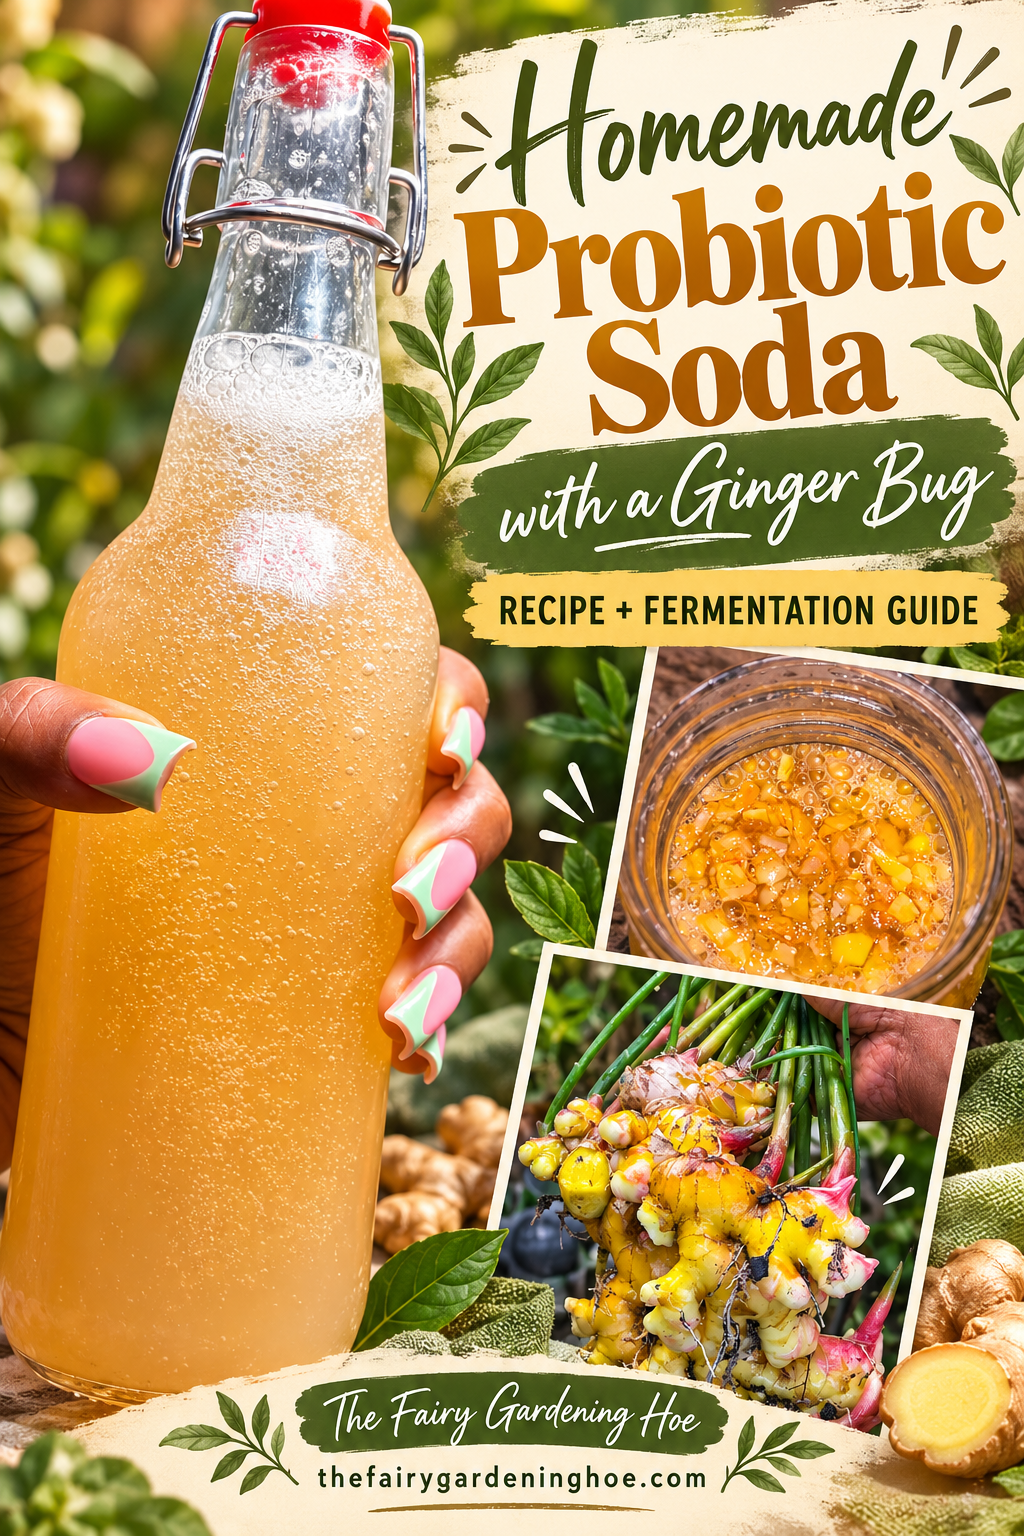
Save This Ginger Bug Soda Guide for Later
Want to make this later? Save this pin to Pinterest so you can come back to my ginger bug recipe, fermentation process, and homemade probiotic soda method whenever you’re ready.
Why I Keep Making It
I originally got into this because I wanted something fizzy that I could make myself.
But the longer I ferment things, the more I realize that watching the transformation is half the fun.
You start with ginger, sugar, water, and fruit. Then you give it some time. A few days later you’re standing there holding a bottle full of bubbles that did not exist before.
And every fruit behaves a little differently. Strawberry. Pineapple. Ginger. Whatever I happen to have around next.
That experimental part is probably my favorite thing about it.
Because once I find out I can make something myself, you already know what happens.
I have to try it.